
worldmaking 001: for ppl who have no clue where to start
About the Series
I always struggle with what to write about each month, because homemaking is such a big and personal subject! There are things that I think are important that other people do not think about at all, and there are things others find vital that I never bat an eye at.
I’m also terrible at a deadline (Vanessa, my editor, I am so sorry and I love you so much), and thought that some sort of series, where I knew months in advance what I’d intended to write, would be helpful as I tried to respect my editor more and submit things on time (this month, it did not work and again….I am so sorry and I love you so much). And thus, this series was born. Welcome to Worldmaking 001: For People Who Have No Clue Where to Start. This series is going to be practical. Yes, making a home is making new worlds, but how do you do it? How do you make your bed? How do you shine your furniture? When can you DIY it and when should you buy something extra strong?
I haven’t offered too much practical information because as I said, homemaking is personal! So a caveat for this week and every week: these are my opinions, and I’d love your opinions too! I’m imagining that we’re deep cleaning each room in Worldmaking 001–which means, you’re probably not going to need to do each of these things each week or even each month! Maybe you do some of these things only once a year, but it’s important that you have the know-how.
And now, let’s dive in, with the place most of us have access to and are responsible for cleaning:
The Bedroom
1. Make a List

If you take nothing from this series, please take my virgo insistence that you must make a list! You absolutely must make a list. Without a list, it’s so easy to get super fixated on one thing for too long and end up accidentally “tidying” your desk for 3 hours and somehow at the end, the desk is clean but the room is worse than you started with. A list helps; it might not fully prevent you from hyperfixating, but it’s a good motivator not to get too stuck on one thing!
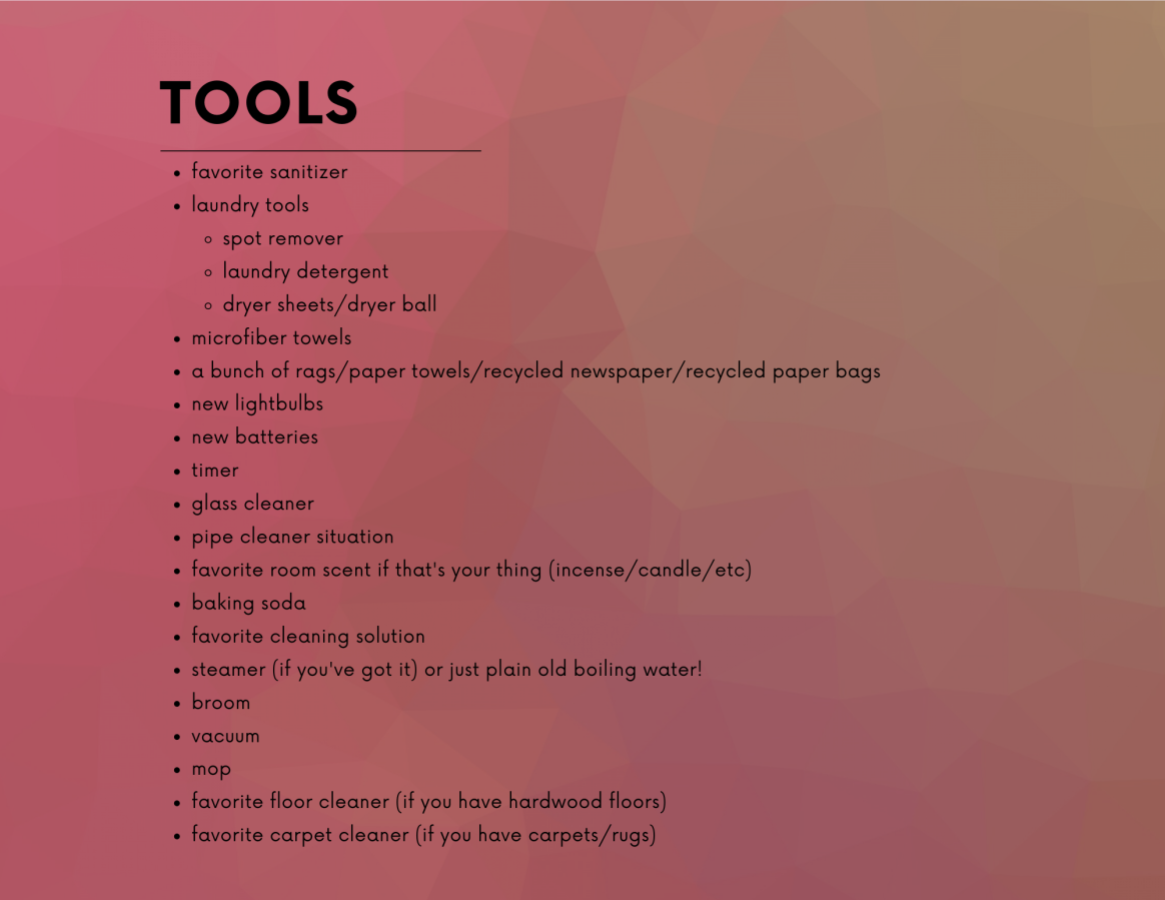
2. Tools
-
- Your favorite sanitizer: My favorite sanitizer is some sort of bleach solution. Here’s how thee bleach girl, Clorox, suggests you make your own sanitizer with bleach (applicable even if you’re using the bleach from the dollar store, which you absolutely should because it’s $1). Maybe you like the wipes, or some sort of spray pre-mixed in a bottle. Do you! But sanitizing is not a step to skip.
- Laundry Tools
-
- Spot Remover: a good DIY version is 1 part Dawn dish soap (not to be a shill to corporations, but whatever the girlies in the labs at Dawn are doing is different than other dish soap. If I specify Dawn, know the only other suitable alternative would be an equal amount of Dr. Bronner’s Sal Suds, and not another dish soap) with 2 parts 3% hydrogen peroxide. If you’re not into making one on your own, the Instagram mommies love Miss Mouth’s Messy Eater Stain Treater.
- Laundry Detergent: I’m a sucker for Tide Simply. It’s got the power of Tide, which I’ve always found dependable, but it’s like $6 cheaper than the orange bottle Tide. I’m also beginning to use Dr. Bronner’s Sal Suds for laundry and it’s working surprisingly well for something I can use so little of! Plus all my clothes smell like the mountains.
- Dryer sheets/dryer balls: I’m not here to tell you not to use scented dryer sheets because it’s your life! And if that brings you joy, then do it! But maybe try wool dryer balls. They fluff your clothes in the same way you hope dryer sheets will, you can put essential oils in them, and you buy them once and can use them forever(ish)!
-
- Microfiber towels: I buy them from the dollar store, use them until I absolutely cannot To keep them longer, wash cold on the gentle cycle with vinegar in the wash, and don’t put them in the dryer. They’re necessary for dusting.
- A bunch of rags/paper towels/recycled newspaper/recycled paper bags: For wiping down surfaces/windows. Use what you’ve got.
- New Lightbulbs: if any of your bulbs aren’t LED, now might be the time to think about replacing them!
- New Batteries: Make sure any remotes, toys, toys, and gadgets are powered up.
- Timer: to prevent hyperfixating.
- Glass cleaner: Windex is that girl, and the stuff from the dollar store works just as well. If you want to make it at home, just use 1 cup of rubbing alcohol, 1 cup of water, and 1 tablespoon of vinegar in a bottle.
- Pipe cleaner situation: for getting into tiny corners. This is a deep clean, remember!
- Favorite room scent if that’s your thing (incense/candle/etc): you need to set the mood!
- Baking Soda: for litter boxes, carpets, mattresses…the list is endless.
- Favorite all-purpose cleaning solution: I like 1:1 vinegar and water with a squirt (loosely defined) of dish soap. Store-bought will do just fine here!
- Steamer (if you’ve got it) or just plain old boiling water: Boiling water is the most powerful, and most dangerous, non-toxic cleaning tool you have.
- Broom: try and get a good broom. Nothing makes you want to not sweep more than a bad broom. I find that my back prefers a push broom; your local Home Depot will definitely have something for you.
- Vacuum: Even if you have mostly hard floors, I urge you to get a vacuum, even if it’s just handheld. There are some things that just are so much easier with a vacuum. Over the past five years, these are the vacuums I’ve accumulated that I would absolutely suggest (with the caveat that they are expensive; I suggest buying refurbished ones on eBay or someplace similar!). The Dyson Ball Animal 2 Upright Vacuum has a super long cord, works on carpets, hardwood, tile, and linoleum floors. It’s the only thing that gets all the litter out of my rugs. I use it about 2-3 times a month. The iRobot 694, which I affectionately call Brooma Sarah, is used daily in my apartment. It is…not amazing. But! It does an equal or better job than I would of sweeping the entire house. And it does it every single day, and I don’t have to lift a finger.
- Mop: You need a mop if you have hardwood/vinyl/tile/not-carpeted floors. My favorite mops are microfiber spin mops, where you fill a bucket with water. I also mop pretty infrequently! My roommate loves the microfiber reusable Swiffer style mops, and she mops much more frequently! Get what works for you.
- Favorite floor cleaner (if you have non-carpeted floors): I like Murphy’s Oil Soap. It’s a workhorse, will clean any floor, and smells amazing. The basic tools for a DIY floor cleaner are very hot water, castile soap or Dawn, and vinegar. You will need to do a rinse mop (using just water) after using these though, or the vinegar can leave your floor kind of streaky.
- Favorite carpet cleaner (if you have carpets/rugs): For general deoderizing, this is baking soda. But here’s the thing, you and 3-5 local friends should absolutely go in together on a carpet cleaner. For anywhere between $150 and $400, you can get something really powerful that will pull things out of your carpet you never knew could be there. When I had carpets, I used the BISSELL ProHeat 2X Revolution Pet Pro once a month just because it was so fun seeing how gross carpets get in a month. I’d also suggest investing in some sort of oxygen-based stain remover specifically for carpets if you’ve got pets. I like anything from Nature’s Miracle, and my crunchy-dykey vets do as well.
3. How To
Okay! You’ve made your list! You have your tools! Now let’s get to actually doing the do!
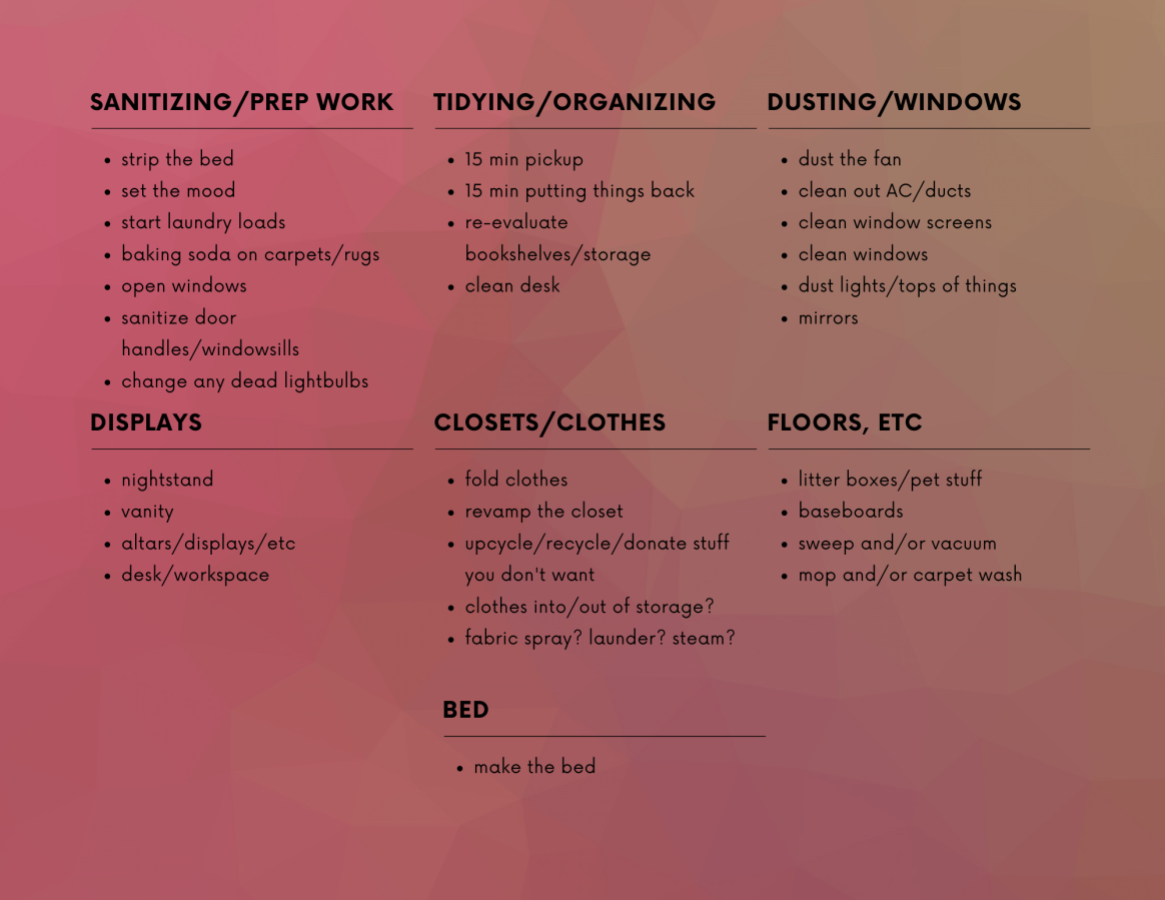
Sanitizing and prep work
I start with these tasks because it’s easy to get out the way and makes a big difference in making it feel like you are in the process of cleaning. Set the timer for 25 minutes and go!
- Strip the bed:
- Remove your duvet/comforter. If you’re using a duvet, remove the duvet from its cover
- Take all the sheets off your bed
- If your mattress protector is one that can be laundered and it’s been over 6 months since you’ve last done that, take that off too!
- Set the mood:
- Put on your cleaning playlist
- Light some incense or a candle
- Set an intention and take a deep breath. You’ve got this.
- Start laundry loads
- Definitely throw your bedding into the laundry (keep 1-2 pillowcases in the room) and start some other loads if you need to. Laundry can be a good excuse to step away from cleaning for 5 minutes when you need a break. Doing another task can help be a reset.
- Sprinkle baking soda on carpets/rugs so it can do its job while you do yours.
- Open windows and let in some good, fresh air.
- Sanitize door handles/windowsills
- If using wipes, just wipe everything down until any visible dirt is gone. Let air dry.
- If using a spray/solution:
- Clean off any visible stains
- Spray down areas
- Wait 7-10 minutes
- Wipe with damp cloth
- Dry
- Change any dead lightbulbs
Tidying and Organizing
This is probably what you’re doing each week. I don’t know why, but I tend to start at the space farthest from my door and slowly move towards the door. Your mileage may vary.
- 15 minute pickup:
- Set a timer for 15 minutes and pick up everything that you know is somewhere it doesn’t belong and put it on the now-empty bed.
- Look on top of shelves/dressers, under the bed, in drawers, in your closets.
- Now is not for putting things back! Only discovering what’s in the wrong place and putting in a new wrong place, your bed.
- 15 minutes of putting things back
- Set a timer for 15 minutes and begin to go through your pile on your bed. Put things back in their right place, even if you know you’ll need to clean later.
- I use this time especially to move things (plates, cups, books) that don’t belong in my room back to their spaces in the home
- Start some sort of trash bag during this time and keep it near your door
- Re-evaluate bookshelves/storage
- Set a timer for 30 minutes
- Look at your bookshelves
- Books to give away?
- Tidy bookshelves in disorder/wipe down dusty books
- Dust behind books
- Look at your storage
- Anything that should be out of storage, take out
- Anything that should be put back into storage, put back
- Clean desk
- Set a timer for 5 minutes: make a list of the things you need on your desk
- On my desk:
- Reference books
- Language textbooks
- Pen and pencil cup
- Lamp
- Flowers
- Candle
- Picture of Buffy
- Planners
- Post-its
- Laptop
- Catch-all space
- On my desk:
- Set a timer for 15 minutes
- Remove everything from your desk
- Clean your desk using a wood cleaner or all-purpose cleaner
- Look at your list: only replace those things on your desk
- Set a timer for 5 minutes: make a list of the things you need on your desk
- Set a timer for 10-20 minutes
- Find a new space for anything extra that you used to keep on a desk
Dusting/Windows
Dusting and cleaning your windows will make your space feel fresher and brighter. It’s hard to explain, but it’s a noticeable change whenever I do these two chores. Give yourself 45 minutes to an hour for this, no more.
- Dust the fan
- Clean out AC/ducts
- Use whatever pipe cleaning situation you found to grab any visible dust
- If you have an air filter, be sure to change that regularly
- Wipe down the surface of the ducts or AC with a damp cloth and all-purpose cleaning solution
- Clean window screens: did you know your window screens are also air filters? They grab lots of larger particles and can get super dusty, and you should clean them!
- Using a damp towel/rag (I would not suggest anything paper for this), vigorously rub against the window screen
- You should see dirt/dust pilling up and falling off the screen
- Vacuum up the gross little dusty bits
- Clean windows: It’s more involved than you think!
- You should have already sanitized the windowsill!
- Boil some water, or get your steamer going
- Spray down the windows with window cleaner
- Immediately, either squeegee the window in a downward motion, OR, use an old newspaper or microfiber towel to buff the window in circles, starting from the top.
- Wipe up any wet, dirty water that may have accumulated at the bottom of the window.
- Vacuum up any dried dirty/debris that’s made its way into the bottom of the window
- **CHECK FOR NEIGHBORS BELOW BEFORE DOING THIS STEP** Using the narrow tip attachment, steam the bottom of the window to force out any debris. If you’re using water, gently and slowly pour boiling water into the corners of the window to try and flush out debris.
- Use a pipe cleaner situation/toothbrush to really scrub any tough corners.
- When the surface is cool enough, wipe it down with a microfiber towel until dry.
- Dust lights/tops of things: There are two schools of thought about dusting: microfiber towel or feather duster-style.
- Microfiber towel
- Start high, move low–dust your tall lamp before the low altar near your window.
- Remove items from their surfaces and wipe them down, especially the bottoms.
- Using either something like Pledge wood spray or a light misting of warm water, moisten the surfaces you wish to dust.
- Using a figure-eight pattern, dust diagonally from the back left to the front right corner
- Repeat with a dry microfiber towel
- Replace items
- Microfiber towel
- Feather duster-style
- Start high, move low–dust your tall lamp before the low altar near your window.
- Remove items from their surfaces and wipe them down, especially the bottoms.
- Using either something like Pledge wood spray or a light misting of warm water, moisten the surfaces you wish to dust.
- Using gentle back and forth patterns, quickly move across the surfaces from the back to the front
- Replace items
- Mirrors: Clean them like you clean your windows!
- Take a selfie because you look cute!
Displays
Your displays are so personal and special that I don’t want to tell you how to maintain them; your needs are not my needs!
The top of our mother’s dressers were alters, too.
— her name is cyn. (@cynfinite) January 14, 2021
- Nightstand
- As long as you wipe down the surface of the nightstand, adorn it however you want. I know some people who believe a nightstand should have the book you’re reading, a lamp, a clock, and a special picture on it. And then there are the beautiful queers who submit to one of my favorite Instagram accounts, Queer Nightstands.
- My one nightstand rule: if you can, put your phone somewhere else. Even if you’ve got to use it for your alarm, unless you absolutely need it on your nightstand, I find it to be an unnecessary distraction to my sleep hygiene.
- Vanity
- I live like a stereotypical professor and there’s stuff everywhere all the time. I do advocate for knowing where things belong.
- My general rule for my vanities is all the post-shower doodads (serums, toner, q-tips, etc) go in the bathroom, and I keep final touches, like lotion, deoderant, fancy body oils, and perfume on my vanity.
- Jewelry goes in an organizer; for the longest time, it was just a used tiny jewelry box, which works perfectly.
- If I wore makeup more often, I’d keep it in a drawer in my vanity, because light can be detrimental for certain formulas.
- Altars/Displays/Etc
- Keep your altars clean or your ancestors will haunt you.
- This is so personal, and so cultural! Reach out to some cultural workers in your community for suggestions about altar cleaning.
- Desk/workspace
- You should’ve already done most of this, but as you moved things around, it’s possible you may want to rearrange things. Keep your list that you made about what you want on your desk in mind as you revamp it! Do NOT use your desk as a catchall, you’ve got to work there!
Closets/Clothes
We’ve all got clothes, and they last longer when we maintain their upkeep. It’s important for you and your clothes that you keep them clean and store them well.
- Fold clothes:
- Revamp the closet
- Pick things up that have fallen on the floor–has anything fallen that should be hanging?
- Vacuum or sweep your floors
- Give your clothes a little fluff, make sure they’re on the hanger correctly
- Upcycle/recycle/donate stuff you don’t want
- Old t-shirts/cotton bedding make great fabric rounds for toner/serums
- Do not try to donate your old underwear or socks. No one wants them and you’re making extra work for someone.
- Clothes into/out of storage?
- Has a season changed? Make sure what’s in your closet reflects what you need. If you have 10 sweaters out of strange and it’s pushing 75º each day, rethink how you’re using your space!
- Fabric spray? Launder? Steam?
- Give clothes that don’t need to be washed some love, either with fabric spray or a steamer. It’ll help prevent wrinkles!
- If anything smells rank, throw it into the laundry.
Floors, etc
Floors are not clean, there’s a reason we don’t tend to eat off them! But they can be clean enough. You do your floors last because all the dirt/dust you’re kicking up will eventually land here, so why not tackle it last?
- Litter boxes/pet stuff
- Throw away all used litter.
- Clean out your litter box with soap and hot water.
- Sanitize your litter box using your favorite method.
- Take all your pets’ food bowls into the kitchen and wash them.
- Add any soft toys and pet bedding to the laundry.
- Sanitize any hard toys, and be sure to rinse them well before returning them to your pets.
- Baseboards: you’ve been shaking up a lot of dust, and your baseboards can use some love. Don’t forget about them.
- Using soap and hot water with a damp rag, wipe in circles all around your baseboard.
- Keep a dry towel handy to prevent streaking/dripping onto the floors and dry immediately after cleaning a section of baseboards.
- Use your pipe cleaners for tight corners.
- Be gentle! Paint is not permanent, and if you scrub too hard, you can begin to wash away the paint.
- Sweep and/or vacuum
- How to sweep or vacuum:
- If you’ve got hardwood or vinyl flooring, follow the grain! Regardless of the type of flooring, imagine your room is a sheet of ruled paper and sweep or vacuum one line at a time; don’t skip any lines.
- Once you’ve swept all the dust/debris to one slide of your room, sweep it into a dustpan or vacuum it up!
- Do a second run-through if you’re not sure you got out all the baking soda you used to deodorize your rugs!
- How to mop and/or carpet wash:
- Fill your mop bucket/spray canister with hot water and your cleaning solution
- If you’ve got a mop you wring out, let it sit in the water for a few minutes before beginning.
- The process of mopping should be done in a similar style to sweeping/vacuuming, imagining your floor ass a sheet of ruled paper.
- Do not use an overly wet mop! It might ruin your floors, but even if it doesn’t, it will not make them cleaner, it will just make more work for you.
- For stuck-on crust to your floor (oh hello cat barf under my bed I just found!), use a cleaning brush and gently scrub at the spill until it comes up. Wipe it down with a towel after to prevent water damage to the floors.
- Let everything dry. Let your mop dry before returning it to the closet. Let the bucket dry. Let your floors dry before walking on them! AKA, take a break!
- How to sweep or vacuum:
Bed
Once you’re making your bed, you’ve made it. You’re so close to being done. Set a timer for 20 minutes and go. There are many styles to making a bed! Maybe you like a precisely made bed, maybe you like it to feel airy and loose, maybe you like turndown service! Do what feels good.
- Make the bed
- (Get someone to help you) Flip your mattress (or do it by yourself if you’re me and like suffering).
- Put on a mattress protector. I think even the cheapest mattress protector is vital to your mattress’ longevity.
- Add your fitted sheet
- Add a top sheet
- How to do hospital corners
- Evenly lay your flat sheet over your fitted sheet
- Start at one corner at the foot of the bed and slightly lift the side of the mattress and tuck hanging fabric along the foot of the bed.
- Hold the excess fabric, lift it up and place it on top of the mattress, making the edge of your sheet form a 45-degree angle with the corner of your mattress.
- Hold the fabric forming a 45-degree angle and tuck in hanging fabric along the side of the mattress.
- Shift the edge of the sheet to the corner of the mattress and tuck it in.
- Repeat on the other side of the bed
- How to do hospital corners
- Put your duvet insert into your duvet and drape it gracefully atop the bed: Pro-tip, do it like this video suggests.
- Add your pillows, fluff them
- Lay down
4. Relish in the fruits of your labor!
Light a candle, take a nap, invite over someone you might want to share the bed with! You did it. You deep cleaned your room, and it wasn’t so hard, was it? Yes, it took effort, but look at all the fun skills you’ve gained, and doesn’t it feel good to have a fresh and clean bedroom? I’m so proud of you!
Also, if you’d like to download the list and tools as a PDF, you can do so here.
Notes for a Queer Homemaker is a regular column that publishes on the fourth Friday of every month!


More Stories
Best Housekeeping Services to Keep Your Home Spotless
How to Make a Housekeeping Plan That Actually Works
Hotel Housekeeping Tips for Spotless Rooms